Tuesday, May 18, 2010

Back from our Honeymoon!

I'm glad to be back!! I have taken a long break from blogging because I have been busy getting married! Brian and I were married at the beginning of May. It was a beautiful wedding and all the planning and saving were worth it!

Now I am excited about getting back to blogging and working on a multitude of exiting home improvement projects! I'm also excited about learning to use my new camera which I bought for the wedding. It's a Canon Rebel Xsi-SLR! My friend, Amy, took pictures of us during the wedding--which helped us a lot. I get the camera back this week. So for now I will show you some pictures of our Honeymoon in Historic Guthrie, OK which I took with my old camera.

This is the Stone Lion Inn in Guthrie, Ok. This Inn hosts Murder Mystery Dinners. It is a magnificent house, however, it looked like their was some renovations going on. We were not able to tour the inside on this visit, but we plan to come back.

These are some of the beautiful historic homes in Guthrie. Unfortunately,I didn't get the best pictures. These are only a couple of houses. We had a great time and loved the peaceful little town.


Friday, January 29, 2010

My "Shabby Chic" Booth in a Vintage Mall


Hi, everyone! I have been busy this month working on items for my booth in a vintage mall! These are some pictures I took in a rush recently--sorry about the quality... I really would like to buy a better camera...Maybe I'll sell enough stuff to do that this year...one can dream.

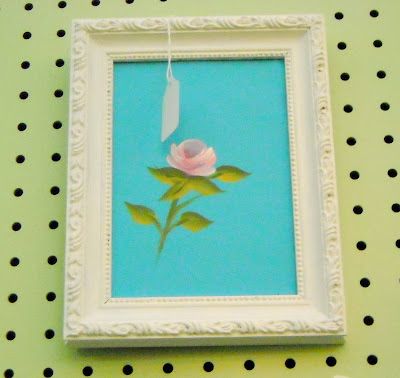
My booth is in the Vintage Market Place here in Midwest City, OK. I am booth # 111 and I am selling home decorating items with a Romantic Cottage, Shabby Chic touch. I have added a lot of hand painted items.

The Vintage Market Place is a really cool kind of business. They have just opened this really cute Tea Shop in the back. It's a really nice place to go and spend a Saturday visiting. I have tried to update my Etsy shop as well www.TheThriftyRomantic.etsy.com. I have always had an entrepreneurial drive in me. But mostly right now I'm trying to help with our up coming wedding. Anyway, I am only including items in my shops that I would like to have in my home. If I end up not selling a lot of this stuff it will end up in my bedroom, guest bedroom or craft room. Thanks for visiting!

Thursday, December 24, 2009

DIY Gifts for Christmas

Hello, everyone! Well, since I'm almost done giving everyone our "made with Love" Christmas Gifts, here are pictures of some of them. I wasn't able to take pictures of all of them. Mostly I made all the gifts this year because we are saving for our wedding in May, but I also love to do this type of thing as you may have noticed. I took pictures of some of the gifts in a hurry before I wrapped them. So sorry about the quality. Take a look.....


These are travel bags I made for the men and some of the women in our family. The ziplock bags are great for storing a multitude of things. I saw this idea on Create (Public Channel) on Donna Dewberry's show. She often has some really good ideas for non-painting projects. This one was really easy, and just like with most sewing projects the cutting and preparation took a lot longer then the actual sewing.

This is a Tote I made especially for storing a scrapbook project. It has pockets inside for scissors, markers, etc.


Sorry about the lousy pictures. I was pretty busy making these and had to squeeze in pictures before I wrapped them. This is a purse I made. It looks a lot better in person.

This is a smaller version of the brown purse from above.

This is a purse I made for my Mom. It also looks better in person.


Finally, this is a Yoga Mat I made. I did end up finding a black shoe string to use at the end instead of the white one in the picture. I made a couple of other totes. One was a messenger bag for my sister, Anna, to store her sketching supplies and take to the beach. The other was a Large Tote for my other sister, Suzie. Unfortunately, I couldn't take any pictures of these before I wrapped them and gave them away. All in all making the gifts was fun but a lot of work. I hope my family will enjoy them as much as I enjoyed making them.

Christmas Images from our Home!

Visit Cindy from My Romantic Home's Friday Show & Tell. I have linked up this week again!

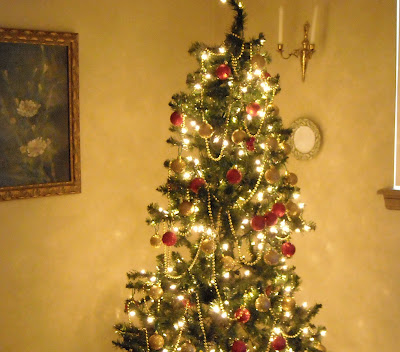
Welcome to our home for Christmas! I had some grand plans for Christmas decorating this year, especially since it is our first year here. However, making all our Christmas gifts this year took up more time than anticipated so those decorating plans didn't work out. I did the best I could under the circumstances.
Enjoy some Christmas images! By the way, our tree has "holes" within the branches because of our two cats. They took to climbing the tree early in December. I was finally able to get them to respect the tree by training them with with a spray water bottle. We plan to get a new tree next year. Merry Christmas!!

Welcome home for Christmas!

Put your feet up on our coffee table while you have some egg-nog!

Sorry about the distorted tree-blame our cats, Apollo & Rocky.

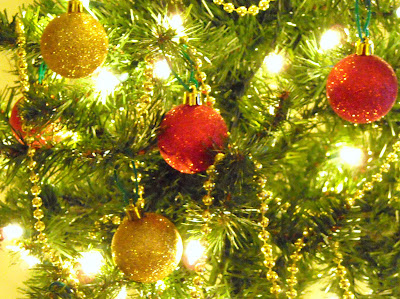
I used plastic ornament clips to protect the cats.

I plan to start collecting nutcrackers. This is my first one!

Cheap & Easy Christmas Pins!


Merry Christmas Eve Everyone! I had planned to travel home to Texas today to spend Christmas with my family...unfortunately, I am stuck at home because of inclement weather. We have ice, sleet, snow....blizzard like conditions in Oklahoma. Travel not advised either North or South. What bad timing, I was really looking forward to seeing my family for Christmas especially since I haven't been able to do that for a few years now. Hopefully, I will still be able to travel in a day or so. In the meantime, I have the time to upload some of my Christmas projects. This is a Christmas pin which I made for my co-workers. I made 42 of these. I made different color combinations but forgot to take pictures. Anyway, I thought I would share this Super Easy project!

I purchased these round wooden pieces from Hobby Lobby and the pin backings as well. I hot glued the pin first so that I could have something to hold while I painted the pin with acrylic paints. After the paint dried I applied glue and then glitter. Finally, I hot glued the bow on. Easy! Easy! You can also use square wood pieces and make little presents. It was a fun and cheap little project!

Wednesday, December 9, 2009

Cinnamon Stick Christmas Ornament


This is a cinnamon stick tree ornament that we made on Sunday. This project was brought to us by Amy from the craft group. They were very easy to make. You take one cinnamon stick and hot glue pieces of garland to create that tiered look on a christmas tree. Then just hot glue pieces of ribbon which you have knotted in the center to make look like bows and add the buttons in the center. The stars at the top are actually buttons. Finally, we added the ribbon hook with hot glue. I loved how easy and rustic these are!


This is my Shabby Chic Christmas cinnamon stick tree!

Tuesday, December 8, 2009

Roses on Christmas Tree


This is our 2008 Christmas Tree. I was on a really tight budget so I made all the "ornaments". I decorated this tree with roses, pine cones, cinnammon sticks, cotton for snow, green checkered fabric and some sage colored ribbon. I really liked how it turned out. By the way, sorry about the picture quality. I didn't know as much about camera lighting when I took this picture last year so you can't really see much detail on the tree.

I'll be sure to update with pictures of this year's tree and Christmas decorations. We put up our tree a couple of days after ThanksGiving. Unfortunately, I had to interrupt decorating our tree this year so that I could re-train our two cats to leave it alone! We have successfully retrained them by using the spray bottle--they hate that! It only took a couple of days for them to get the message that the tree is off-limits. Stay tuned for more Christmas images...